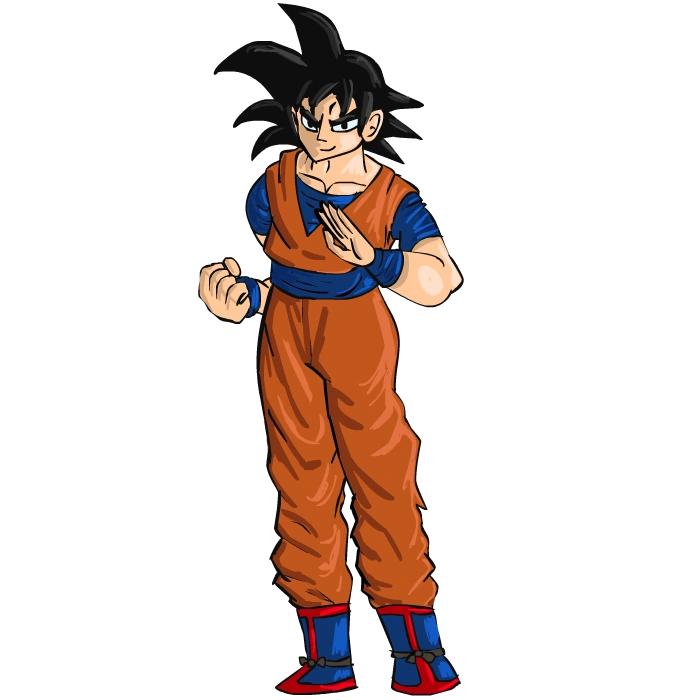
| Goku | |
|---|---|
| |
| Series | |
| Final Smash | Dragon Rush/Dragon Fist |
| Appearances | Super Smash Bros Crusade |
| Tier | C (37) |
General
Son Goku (孫 悟空, Son Gokū), also known as Kakarot (カカロット Kakarotto), is the main character of the Dragon Ball Z franchise and appears as a playable character in Super Smash Bros. Crusade. Goku possesses superhuman speed, strength and power, as well as the ability to fire a Kamehameha from his hands and manipulate Ki (energy) into powerful energy blasts.
Attributes
Among the Crusade community, Goku was famously considered to be the best character in the game. Miraculously, he was ranked 1st on the tier list for the majority of the time Crusade has been available (though now he rests at 37th, in C tier). Goku has amazing capabilities as a fighter since he has amazing attack speed, running speed, air speed, great range, and KO power. He also good hitboxes in terms of his attacks as well as disjointed hitboxes, dangerous Uair spike, and crafty camping abilities. Due to the great knockback and damage of his Kamehameha Wave and multiple spamming of Ki-Blast, he can easily "transmit" to approach the opponent with ease. Goku is, by many, considered "broken" due to his amazing attributes and amazing matchups (though currently a notable disadvantageous matchup against Fox).
Goku is one of the largest, yet fastest characters in SSBC. His main strategy involves using his projectiles, Ki Blast and Kamehameha, to deal damage while keeping away from his opponent. His normal attacks also give him above average range, especially his Forward Tilt and Neutral Aerial attacks. This exceptional range, combined with Goku's high speed, exceptional jumping ability, and Instant Transmission, allows him to run away from other players quite easily. However, Goku's projectile attacks can be easily punished by any character with a well-timed jump-in air attack. His only reliable upwards-facing attack on the ground is his Up Tilt, and even it can be punished if it misses. That said, Goku is still quite a force when up-close, as his normal attacks are quite fast and are decently strong.
A point of interest is that Goku has one of the best edge-guarding game. He has up to three main spikes at any given point (when in Kaio-ken mode) and long-ranged aerials to boot. Also, his Kamehameha makes recovery difficult, as it forces the other player to go over or under it.
Goku's main problem is his vulnerability to combos and poor recovery. Although Goku is fully invincible during his Instant Transmission, it makes him travel only a short distance during recovery. Goku's recovery makes him easy to gimp (though his Uair helps him counter-gimp) and his very large size makes him vulnerable to spikes and meteor smashes. His large size also makes him easy to combo on-stage. That said, Goku is very much momentum-based. Another problem is his size, making him prone to shield stabbing, although he can avoid this by using Instant Transmission, though it is very predictable, which is another issue.
Goku's Normal Moves
Jab
- Two quick punches followed by a side kick. This jab has above-average range, but shorter characters like Jigglypuff can crouch under it. 2% for the first two punches, then 5% for the kick.
Forward Tilt
- A high roundhouse kick that hits twice. This move is quick and has good range. It allows Goku to effectively defend his air and ground space. Does up to 10% damage (3% with the first hit, 7% with the second).
Up Tilt
- Goku abruptly kicks straight upwards, somewhat like Snake's Up Tilt. This kick has very good vertical range and surprisingly good horizontal range. Does up to 9%.
Down Tilt
- Goku does a quick crouching sideways kick. This move functions much like Ryu's Down Tilt, allowing Goku to combo this move into itself, Jab, Forward Tilt, or Up Tilt. 3%.
Nair
- A forward somersault kick. This aerial has a good deal of horizontal range in front of Goku and is rather fast. Up to 11% damage.
Fair
- A hard-hitting axe-handle spike (two-handed downwards attack). This attack has good priority but slow startup. It's a rather decent spike when sweetspotted. 13% with the spike, 10% otherwise.
Bair
- A strong reverse side kick with good knockback. It's somewhat slow, but it has solid range. 12% in first few frames, 10% afterwards.
Uair
- Goku elbows upwards twice while slightly rising, and if both hits connect, he spikes his target downwards with a powerful flip kick. The attack does up to 15% damage. If Goku is powered up, it hits more times and finishes with a downwards elbow instead, dealing up to 23% damage, making it the most damaging spike in the game. This attack is notable for attacking upwards and still hitting downwards, allowing Goku to spike in a variety of situations. This move is considered to be one of the best moves in the game as it is one of the most reliable spikes in the game, it is a reliable combo finisher and can kill at very early percentages due to its good knockback scaling and good range.
Dair
- Goku stalls for a moment, then dives down with a kick. This is a very good stall-fall move, as it has short startup, fast movement speed, and solid power. 11%. In Kaio-ken mode, this move hits 3 times of up to 15% and buries grounded enemies.
Forward Smash
- Goku performs a wheel kick while moving quickly forwards. It hits twice for up to 14% damage and relatively solid knockback in a horizontal direction. It's fast and has lots of range.
Up Smash
- A slow, powerful standing uppercut that deals 16%. It hits high above Goku but has little horizontal range. In Kaio-ken, this move is one of the most powerful vertical launchers in the game.
Down Smash
- Goku stands on one hand, kicking sideways with both legs. Does 14% damage. The attack has good range and speed.
Forward Throw
- Goku lifts his opponent and hits with his knee for average knockback. 8%.
Back Throw
- Goku places the opponent behind himself and kicks them away with decent power. 8%.
Up Throw
- A backflip-kick throw that send the enemy up and backwards. It combos into some moves at low percents. 9%.
Down Throw
- Goku slams the target into the ground behind him, causing 8% damage and low knockback.
Goku's Special Moves
| Type | Name | Description |
| Neutral Special |
Kamehameha Wave |
Goku charges up and fires a blue beam of energy while crying, "Kamehame-HA!" It hits multiple times and takes up a lot of horizontal space on the stage. Deals up to 16% normally, and up to a whopping 29% while in Goku is in Kaioken mode. |
| Side Special |
Ki Blast |
Fire a small ball of energy from Goku's hand. This move can be done fairly quickly and is good for spacing, but it isn't powerful or very long-ranged. Deals 4% damage normally, and 7% while Goku is in Kaioken mode. |
| Up Special | Instant Transmission | Goku teleports instantly to a nearby location. Use the direction keys to change his destination. |
| Down Special | Kaioken Charge | Hold the B button down to charge up Goku's power. After charging a while, Goku can enter Kaioken mode, which powers up all of his attacks considerably. While in this mode, Goku also takes damage constantly until it wears off. |
| Down Special (Kaio-ken) | Kaio-Ken Attack | This move is usable only in Kaioken. Goku lunges at his enemy, striking with his elbow, kicks his foe into the air behind him, and teleports up next to his foe and slams them downwards with his fists. This move has a lot of Super Armor. Goku is in Special Fall after this move. 23%. |
| Final Smash | Dragon Rush | Goku rushes forwards with a mighty punch, followed by a blindingly fast series of attacks, ending in a Spirit Bomb. The blast radius of the Spirit Bomb may hit nearby foes. 48%. |
| Final Smash (Kaio-ken) | Dragon Fist | Goku calls on Shenron the dragon for help and becomes a Super Saiyain for a brief moment! He rushes forwards with a powerful punch enveloped in gold dragon-shaped fire, hitting multiple times for up to 60% damage. This is one of the strongest Final Smashes in terms of raw damage and knockback. |
Trivia
- Goku is one of two characters that doesn't have an actual game to represent, the other being Weegee.
Notable Appearances
- Dragon Ball: Dragon Daihikyou (1986)
- Dragon Ball Z: Budokai (2004)
- Jump Ultimate Stars (2006)
- Dragon Ball Z: Ultimate Tenkaichi (2011)
Gallery
") Goku firing a small energy blast. ") Goku firing a large laser ") Goku focusing his energy ") Goku fully focused his energy ") When fully charged, Goku now does a charge as his down special attack ") If Goku successfully touches an enemy with the charge, he kicks the enemy upward and... ") ... finishes off with a overhead swing ") During the full charge period, some moves of Gokus are enhanced, such as the side special. ") Goku teleporting away ") Goku unleashing a furry of punches ") Goku throwing a small energy bomb ") If Final Smash Is activated during the focused period, Goku focuses his energy to a higher level... ") ...and performs a devastating punch! |